Appearance
Publish your application
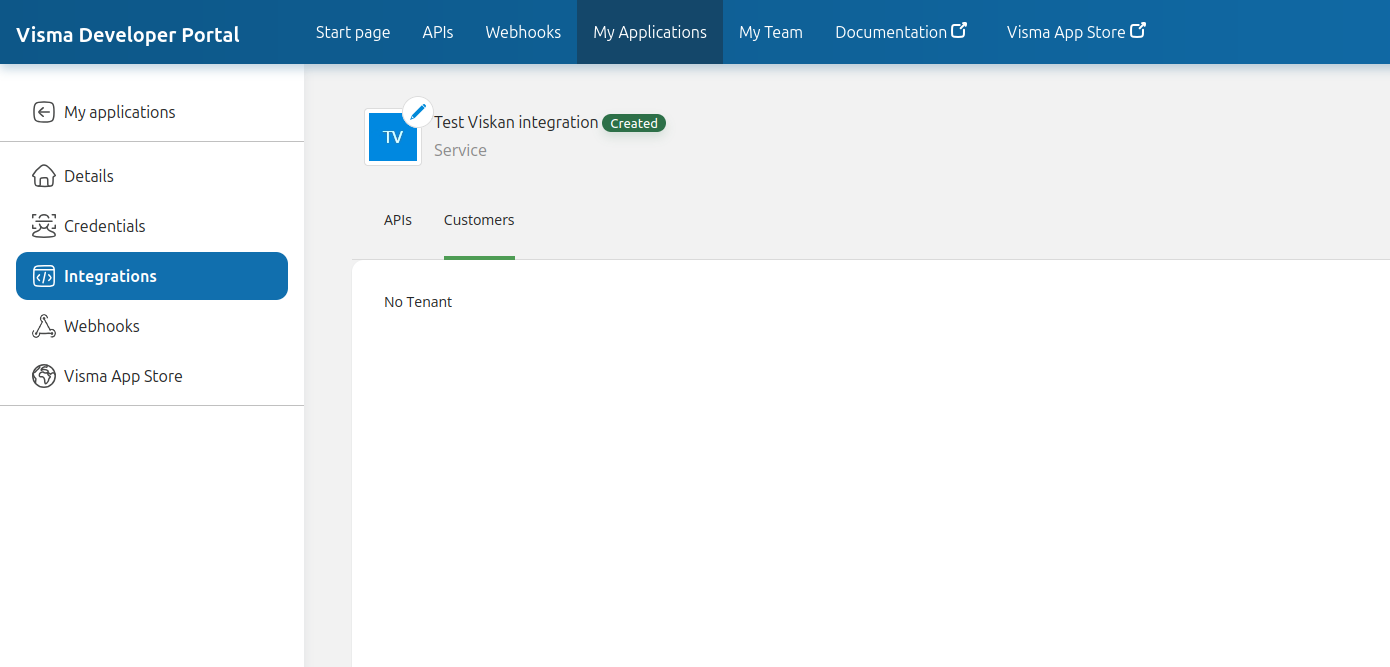
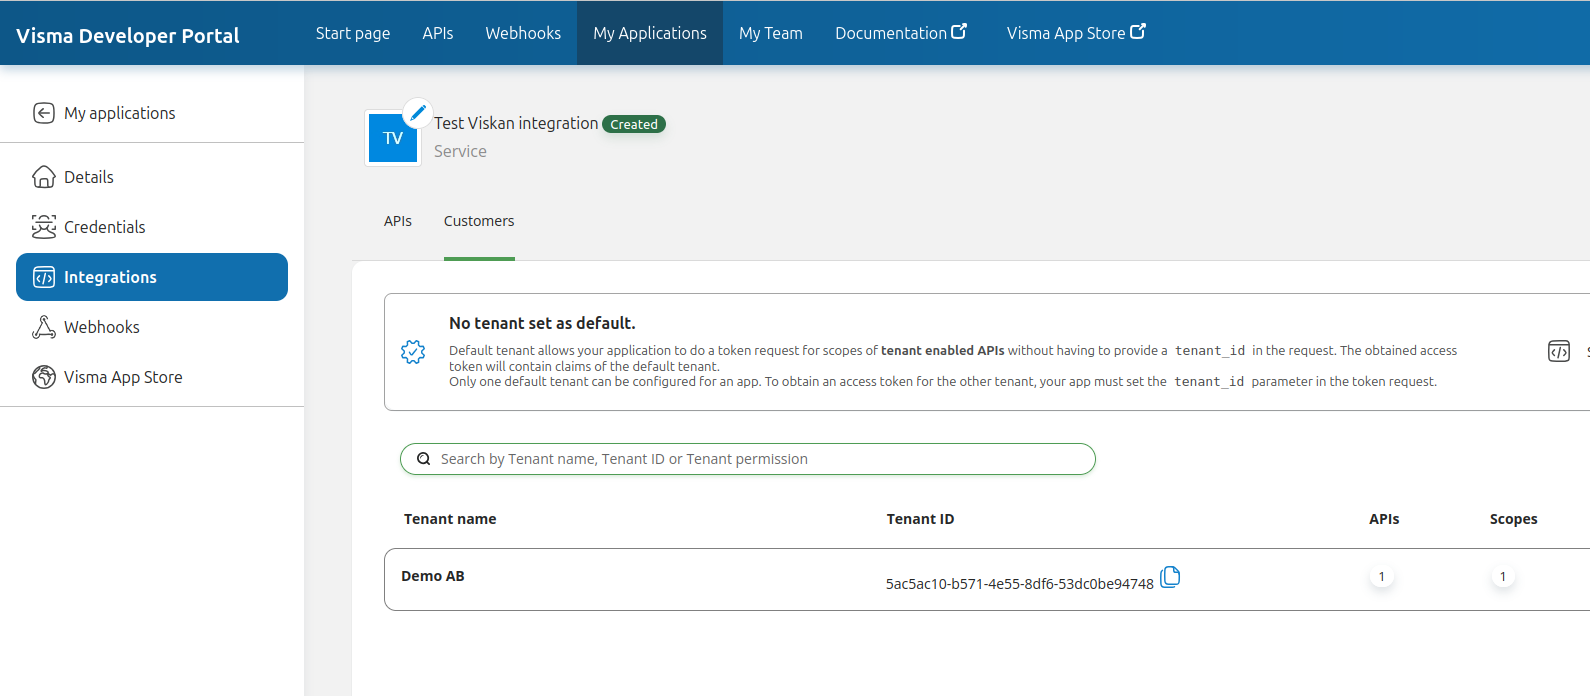
The next step is to gain access to Viskan customers. Under your application, Integrations and the Customers tab, you can see which customers your integration have access to.
There are two ways to get access:
Publish your integration on the Visma App Store
This has not yet been documented. Check again soon!
Send an invite code to a specific customer
Go to your application and then click Visma App Store in the left side menu.
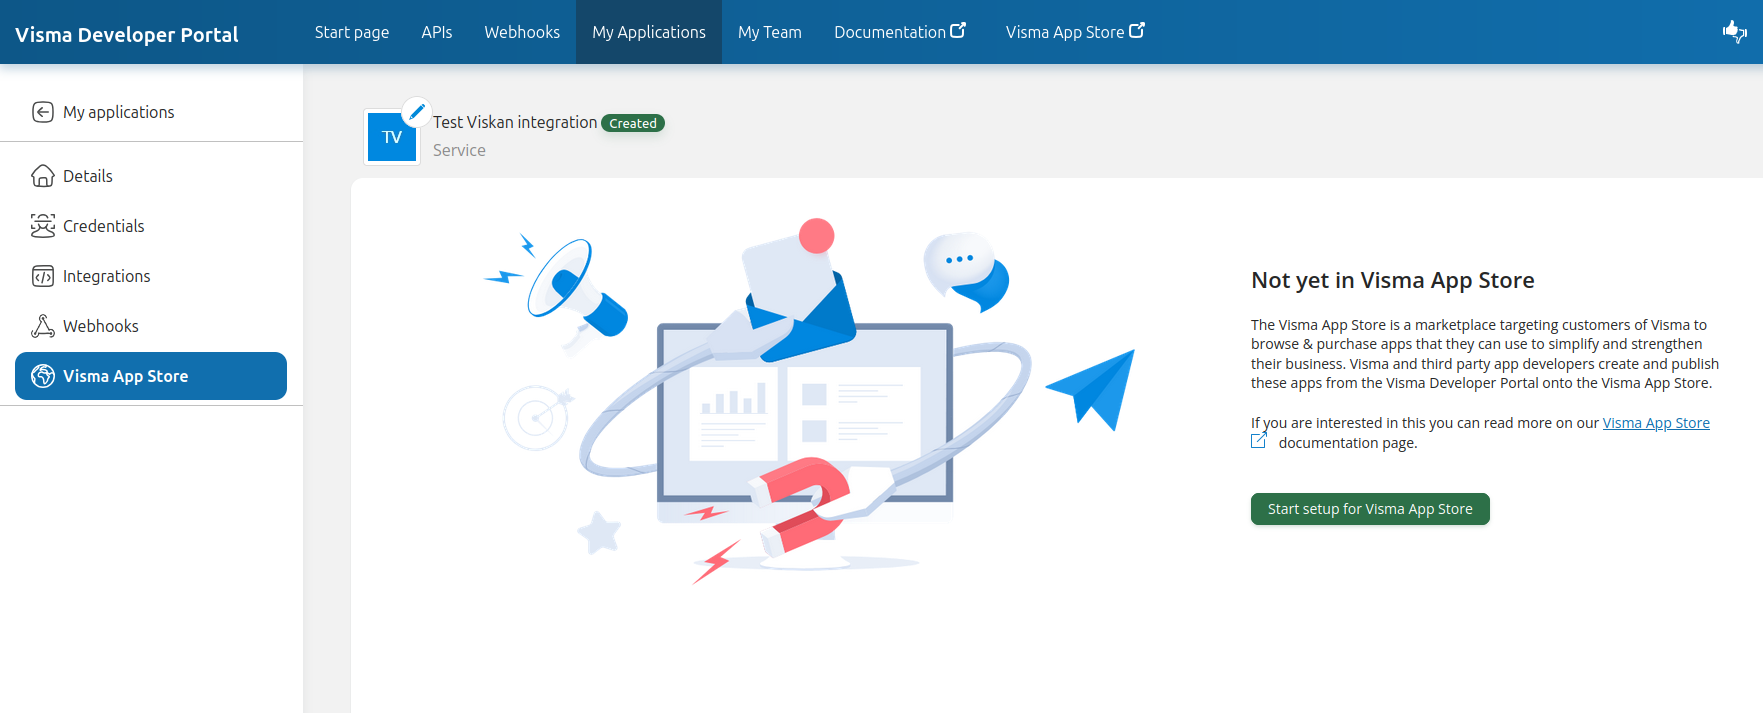
Click Start setup for Visma App Store.
Select Invite only and fill in the required information:
Privacy policy URI: This is the URL to your privacy policy.
Terms of service URI: This is the URL to your terms of service.
Developer website URI: This is the URL to your website.
Application description: A description of the application, so Viskan customers can understand what it is for.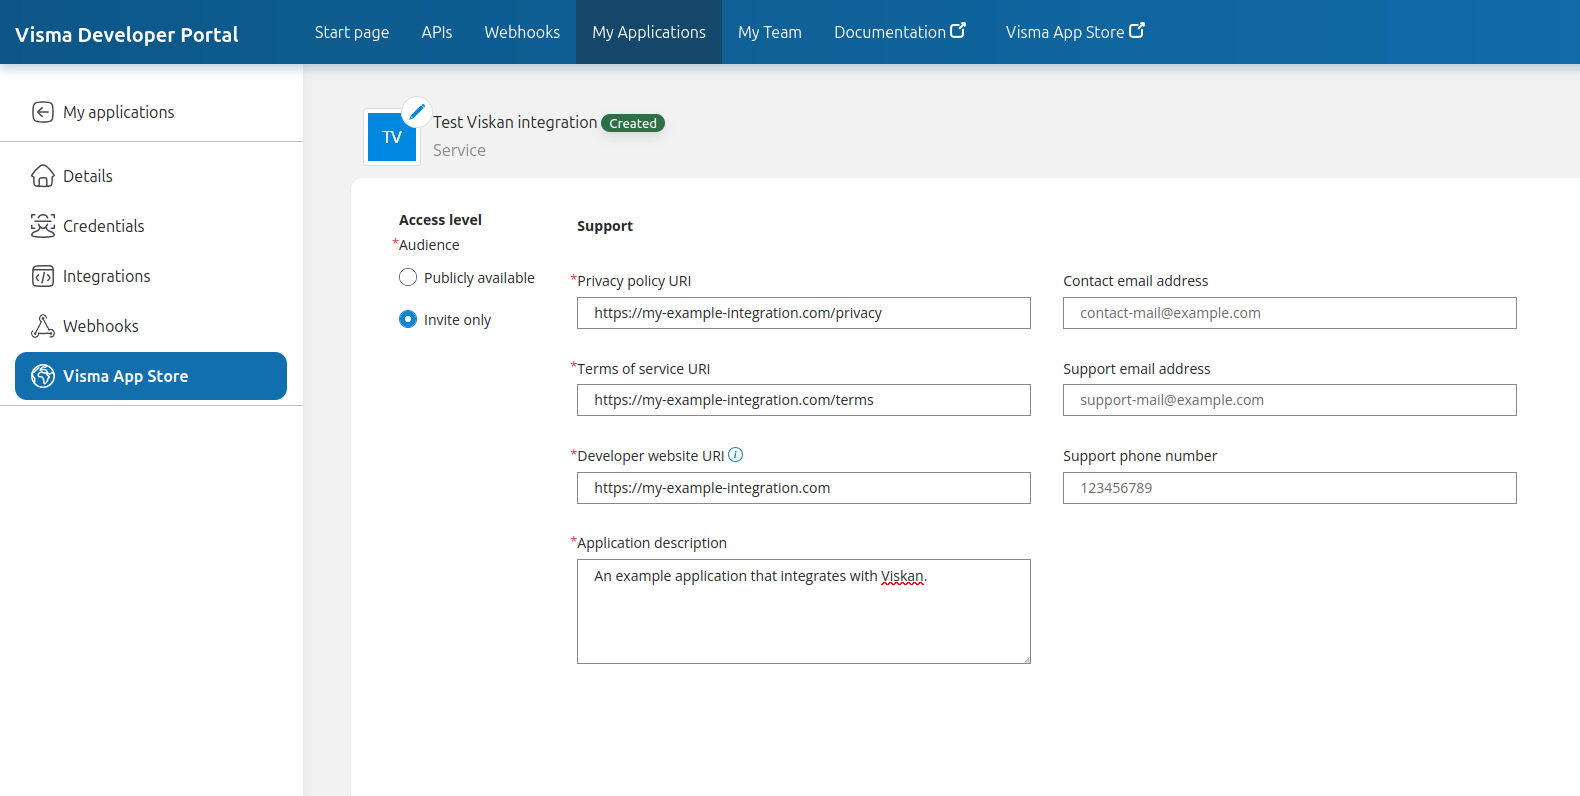
Click Save.
Click New invitation code.
Write a short description of the code, so you can remember what it is for, then click Generate.
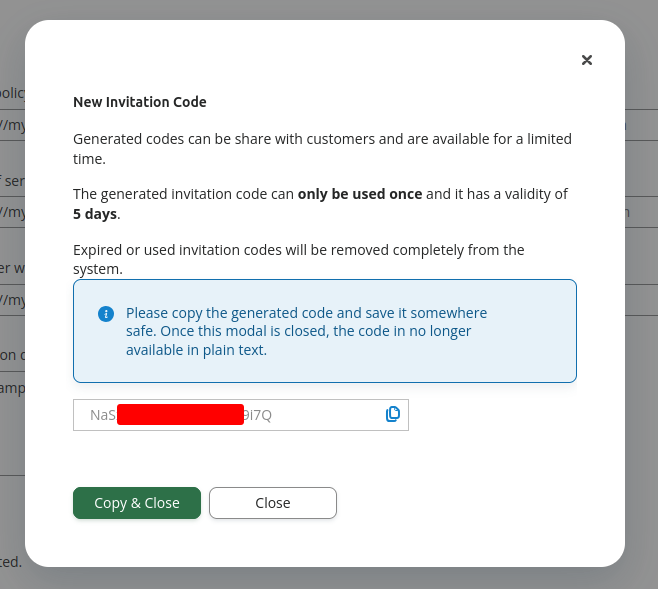
You can now send this invitation code to the Viskan customer, and they can use it to accept your integration and the scopes that you have requested.
Your application is ready
With either one of the above steps done, you are now ready to communicate with Viskan API.
When the customer have added your integration, you should see the customer under the Customer tab under Integrations within your application. Here, you should see the field Tenant ID, which you will use when requesting OAuth 2.0 access tokens.
You can read more about the actual authentication process on this page: "Authentication".